Departments
Articles in this Topic:
| How to Access Departments | Department Files |
| Add a New Department | Department Users |
| Open a Department | Unowned Tasks |
| Department Details | Department History |
| Watch the Video |
Introduction
A Department can be created for any Department, Branch, Section or Team of your Organisation. There is no limit to the number of Departments that can be created which enables each Department with it's associated records to be stored logically and securely. From each Department - Files can be added and from the Files, Documents, Entities, Entity Links (Associations) and Tasks.
Note: The naming convention for Departments, Files and Documents is set by your Organisation, therefor Department could show as Department, Branch, Unit, Section, Team or whatever title has been specified. The structure and function remains the same, only the title changes.

How to Access Departments
To view and access Departments;
- From the main menu click on Settings.
- From the Settings sub menu select Departments.
- Or when viewing a File click on the Department Title on the top right under your username. This opens the related Department rather than the full list of Departments.
Departments List
The Departments page lists any existing Departments (that the logged in user has permissions to see).

The columns in the table show the following details:
- Title: The Title (Name) of the Department.
- Category: The assigned category.
- Contact Person: The designated contact person for the Department.
- Visibility: Public or Private.
- Status: Whether the Department is active or inactive.
- Date Created: The date the Department was created.
The Title, Category, Contact Person and date Created Columns can be sorted alphabetically or by earliest or latest date by clicking on the column name at the top of the table. The number of records shown per page shows on the bottom left side of the table and defaults to 10, clicking on another value will change the number of records returned if there are more than 10 records. The number of the page being viewed and any other pages available shows on the lower right side of the table, click on the page number or use the arrows to view additional pages. The total number of Departments is shown in brackets as (# items).
To add a new Department, open Departments from the Settings page or from the Organisation Details page, click on the plus sign at the top right of the table. User permissions apply.

The 'Add Department' panel opens where the new Department's details can be recorded. All fields must be completed.
Add Department Details
- Title – record the Title (name) of the Department.
- Category – click into this field to select the category from the drop-down list shown.
- Visibility – select Public or Private from the drop-down list. Public - all active Organisation Users can view the Department, Private - only Users who are members of the Department can view the Department including it's Files and Documents.
- Status – defaults to Active (leave as Active).
- Contact Details – free text - record the Contact Person’s name for the Department.
- Contact Message - free text - record the Contact Person’s contact details -e.g. phone numbers and email or any other message. This field can be enlarged by clicking on the diagonal lines in the lower right corner of the text box and dragging this down.

Once completed click Save (Saves data and keeps this panel open) and/or Finish button (Saves the details and closes the panel) which will create the new Department.
The new Department is added and shows in the Departments list.
Clicking on the Department Title (Name) opens the Department.
From the list of Departments, clicking on the Department's Title/Name opens the selected Department.
The Department Menu includes the following pages;
- Details - the Department information.
- Files - a list of Files for the Department and an interface for accessing or adding new Files.
- Users - lists the Users that are members of the Department and an interface for managing those Users.
- Unowned Tasks - for managing any File Tasks with no active Task Owner.
- History - lists the audit logs for all activity within the Department.
Department Details
The Department opens on the Details page where the Department 'info' is displayed.

Edit Department info
To edit or update the Department info click on the 'Edit Department' button at the bottom of the page. The Edit Department panel opens enabling edits to be made. Once edits have been made click Save or Finish to save any changes or select Cancel to return to the Details page with no changes made.
User permissions apply for editing rights.
Clicking on the Files menu item opens the Department Files page where a list of any existing Files belonging to the Department will display. From this page new Files can be added and / or existing Files accessed. The adding or editing of Files is covered in detail in the Files Help Topic.
The number of Files shown against the File menu item represents the total number of existing Files for that Department.
Clicking on a File's number opens that File. Learn more about Files .
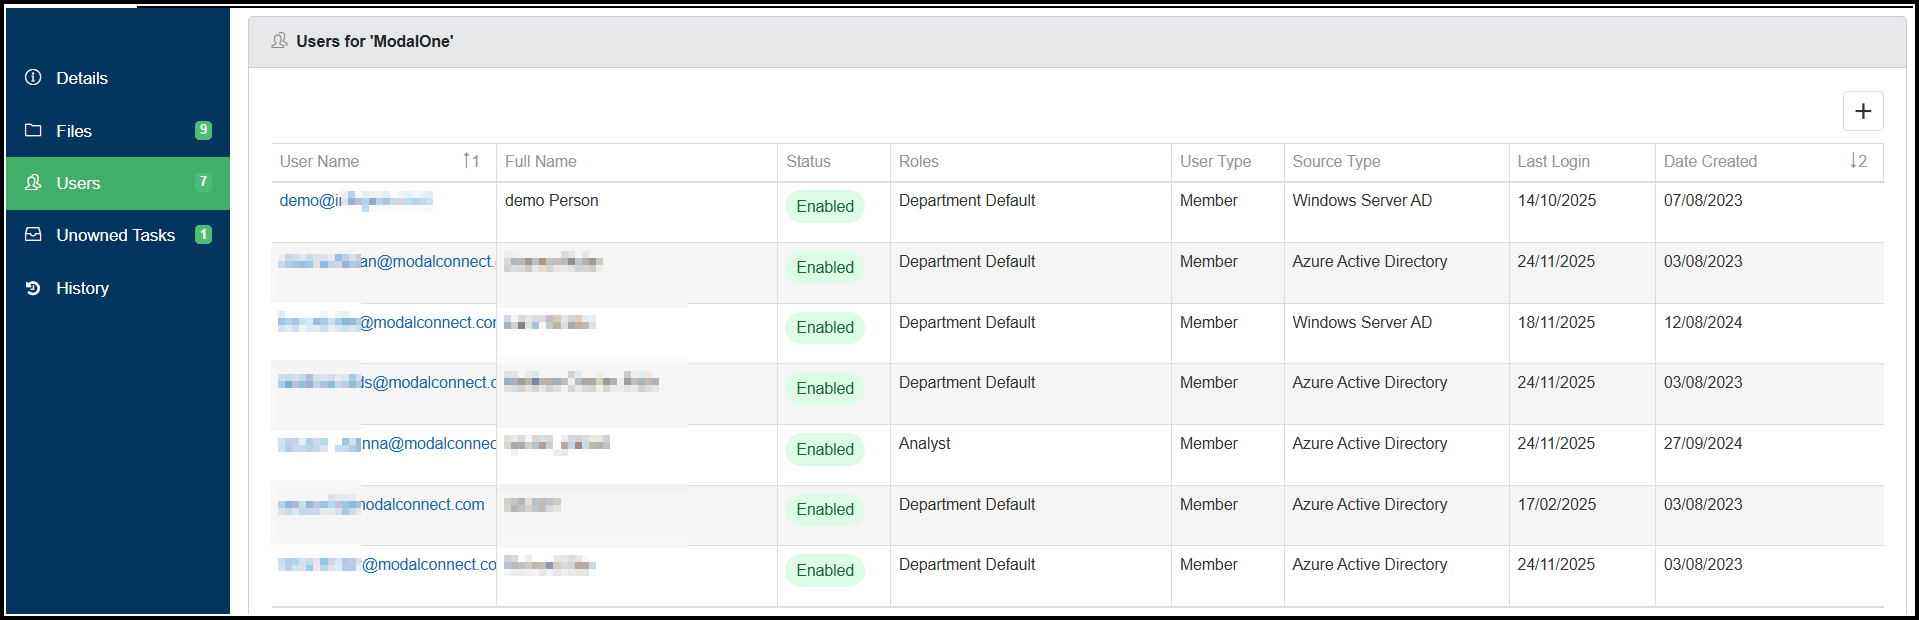
The Department Users page lists Users that have been added as members of the Department. The person who creates the Department is automatically added as a User. Other Users can be added to the Department which enables them to access the Department or it's public Files, Documents and Entities. Users must be a member (i.e added as a user) of the Department before they can be assigned to any private Files (to access the File Documents) belonging to the Department.
Click on the Department Users menu item and the Users table shows a list of the current Users. The number of Users shown against the menu item represents the total number of existing Users for that Department - both active or inactive.
Note; To enable users to view Department(s) Document Categories in the Entity profile, users must be added to the respective Department(s).
Adding a User to a Department
To add a User to the Department, click the plus + button at the top right of the User table (Permissions apply). This opens the 'Add Department User' panel.
Prerequisite: User has already been added to the Organisation and has an active User account.
Note: If the User only has a 'Link Form User' Role at the Organisation level, they will not show in the Add New User list. They will need to be assigned an appropriate active role from the Organisation Users table first.
- Click into the User field and scroll through the list of Users or start typing their name then select. Note
- Next, select the Role to assign for the User - this determines their permissions for access to the Department's Files, Documents and Entities. If the User does not already exist then a New User record must be added within the Organisation record. Permissions apply.
- Click Save to add the User to the list.

- Enabled: User account has been processed successfully and is now enabled.
- Processing: the User account is being updated.
- Error: an issue has occurred- contact the Modal Helpdesk
More than 1 user can be added to the Departments at a time. These are processed via a queue and will be enabled progressively so it is not necessary to wait until the first user added has completed processing before adding another user.
Remove or Edit User
To Remove a User from the Department, click on their User Name which opens the Edit Department User panel - Click the Delete button and then confirm, the User will be removed from the Department and no longer have editing rights to any of it's Files or Documents.
Edits can be made to the Roles by removing (click the x next to the role) or adding User Roles. Save any changes.

If a User that was the Owner of one of the Department File's Tasks, is subsequently removed / deactivated from the Organisation Users list, this also removes them from any Tasks that they were either assigned to or the Owner of. The Task is then 'Unowned' and will need to be either reassigned to another User or deleted.
To Reassign an unowned Task
- Select the Task by clicking into the checkbox to the left of the Task Title - Note - multiple unowned tasks may be selected if they are to be assigned to the same Owner.
- Click the 'Assign Owner' button (top right of table).
- The Task Owner Assignment pane opens.
- Select the File.
- Select the new Owner from the list of available Users (from the selected File).
NB: The User must have Task permissions in their Role - otherwise they won't show. - Click OK. The Task is reassigned and removed from the list of Unowned Tasks.

Edit Task
Another option is to select Edit alongside the Task, then you can reassign to a new Owner.
Delete Task
If the Task is no longer required it may be deleted by clicking Delete - this will permanently delete the Task.
The Department History contains audit logs for activity that has occurred within the Department or any of the associated Files and Documents. This includes all changes of adding or editing and the User who made those changes.
To view the audit logs;
- select the 'History Type'
- the required Start and End dates (defaults to the current month).
- Then click Search.

Results under ‘General’ History includes the activity date, user name, category and a description of the activity.
Results under ‘Security’ History includes - activity date, User Name, Requester Name and under the Description whether the User was Authenticated as an approved User.
The columns for 'Log Date' and 'User name' can be sorted by clicking into the column header.
Note: Search History is captured within the Organisation History.
Viewing Tips
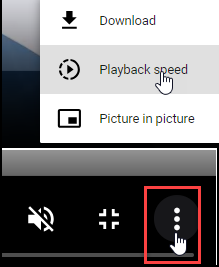
To view a video at full screen, click on the 'Full screen' button.
To adjust the playback speed (decrease or increase) click on the 3 dots and select Playback speed.
Captions display best if the mouse or touch-pad are not moved or engaged once playing.
Videos have no audio.

| The Department Module |